This article is about the LED light installation in my room.
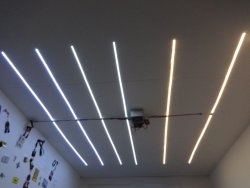
LED strips, and ATX power supply, and a custom board are used. The brightness of the strips can be controlled using a remote. Different colour temperatures allow different ambiance.
This project is covered in episode #008.
board
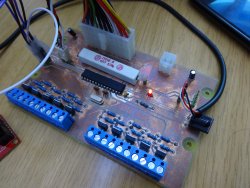
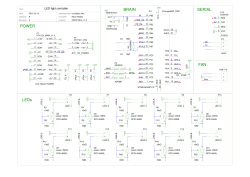
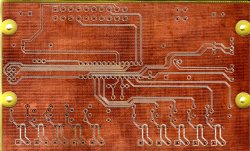
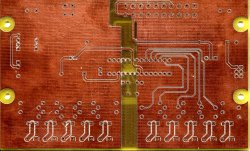
he LED Light Controller is a simple board to control light strips. These have hundreds of LEDs (60-120 led/meter) and use 12V (and ~0.5A/m). This board offers 2×5 outputs, so to be able to control 10 light strips independently (1 per color, RGB requires 3 channels).
The brightness of the light strips is PWM-controlled (this works well with LEDs). Different “modes” can be saved so to be able to rapidly select between user-defined settings. You can control the lights over UART, or with (almost) an infrared remote control using NEC code (which you will have to configure using the UART port first).
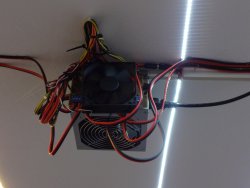
The power for the light strips and the board is provided by an off-the-shelf PC power supply (compliant to the ATX specification). These offer ~10A for the 12V output through the main large connector (with 20 pins for ATX v1.x and 24 pins for ATX v2.x), which is used for the 5 first output channels. An additional 12V output is provided through a smaller 4-pin connector by ATX v2.x power supplies, used for the 5 last output channels. The second connector has 4 pins, with 2 yellow cables on the side with the clip, and 2 black cables on the other side. DON'T CONNECT the one with 4 different colors. This is just an extension for the 20-pin connector from ATX v1.x to become the 24-pin connector from ATX v2.x.
Each channel supports up to ~8A, but the total of each 5-channel group is limited by the current provided by the ATX. You can check on the side of your power supply to know the limit of the 12V outputs.
The board has the same size as the side of an ATX power supply, so to be fixed on it. Don't directly attach it on the case, as this will create short circuits. Use the mounting hole to put stand-off screws, which you have to drill yourself on the power supply.
The board has a power resistor so to put a heavy load on the 5V output. This increases the performance of your ATX power supply (which is a switch mode power supply), so to have better 12V outputs for the light strips. A fan (standard 80mm 3-wire PC fan), which you have to connect to the board, will take care of dissipating the generated heat.
The source files are available on git. PDF and gerber of schematich and layout are available in release vA.
firmware
The board uses an Atmel ATmega328P micro-controller. It allows to set the brightness of the LED strips using PWM. This can be controlled over the serial port or an infra-red remote using NEC codes. 2×5 channels are provided by the board. 3 modes are used to save brightness settings.
The source code is available on git. The firmware binary is available here.
ATX
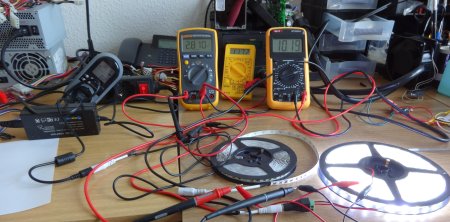
A 4.7Ω power resistor is used to draw power on the 5 V rail. This improves the 12 V rail. The ATX Power Supply Design Guide for Desktop Platform Form Factors (archive) shows the relation between the load of these two rails. And testing it confirms it.
colours
The LED strips allow the brightness of the light to be spread over the room, removing central points from light bulbs.
I used LED strips with different colour temperatures:
- cold (blueish) white above the work bench
- plain white in the centre
- warm (yellowish) white above the sofa
This allow me the change the ambiance:
- cold to concentrate
- mixed for general purpose
- warm and dim when relaxing
These modes are set in the firmware and switched between using the remote.

